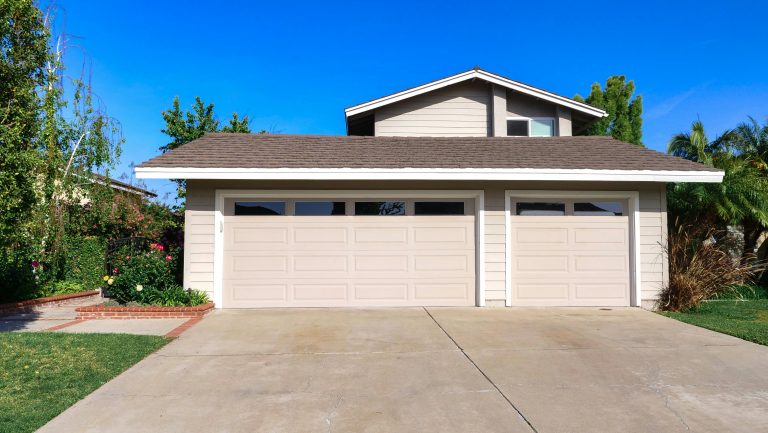

A beautiful walkway can instantly boost your home’s curb appeal and make your outdoor space more inviting. The good news? You don’t have to spend a fortune to create a stylish and functional path. With smart materials, clever design, and some DIY spirit, you can have a walkway that looks expensive without the high cost. This guide explores practical, affordable, and creative walkway ideas on a budget.
1. Plan Your Walkway Carefully
Before choosing materials or design, planning is key. A well-thought-out walkway saves money, prevents mistakes, and ensures your path is both functional and visually appealing.
- Assess your space: Measure the area where the walkway will go and consider the shape. Curved paths feel softer, while straight paths are classic and simple.
- Determine purpose: Is it purely decorative, or will it handle heavy foot traffic? This affects your material choices.
- Sketch a layout: Even a rough sketch helps visualize the space and plan for materials efficiently.
- Consider drainage: Make sure water won’t pool on your path. Slight slopes can help prevent puddles.
Proper planning ensures you don’t overspend on unnecessary materials and that your walkway will last longer.
2. Use Affordable Materials
The choice of materials greatly affects cost. Several budget-friendly options allow you to create a stunning walkway without breaking the bank.
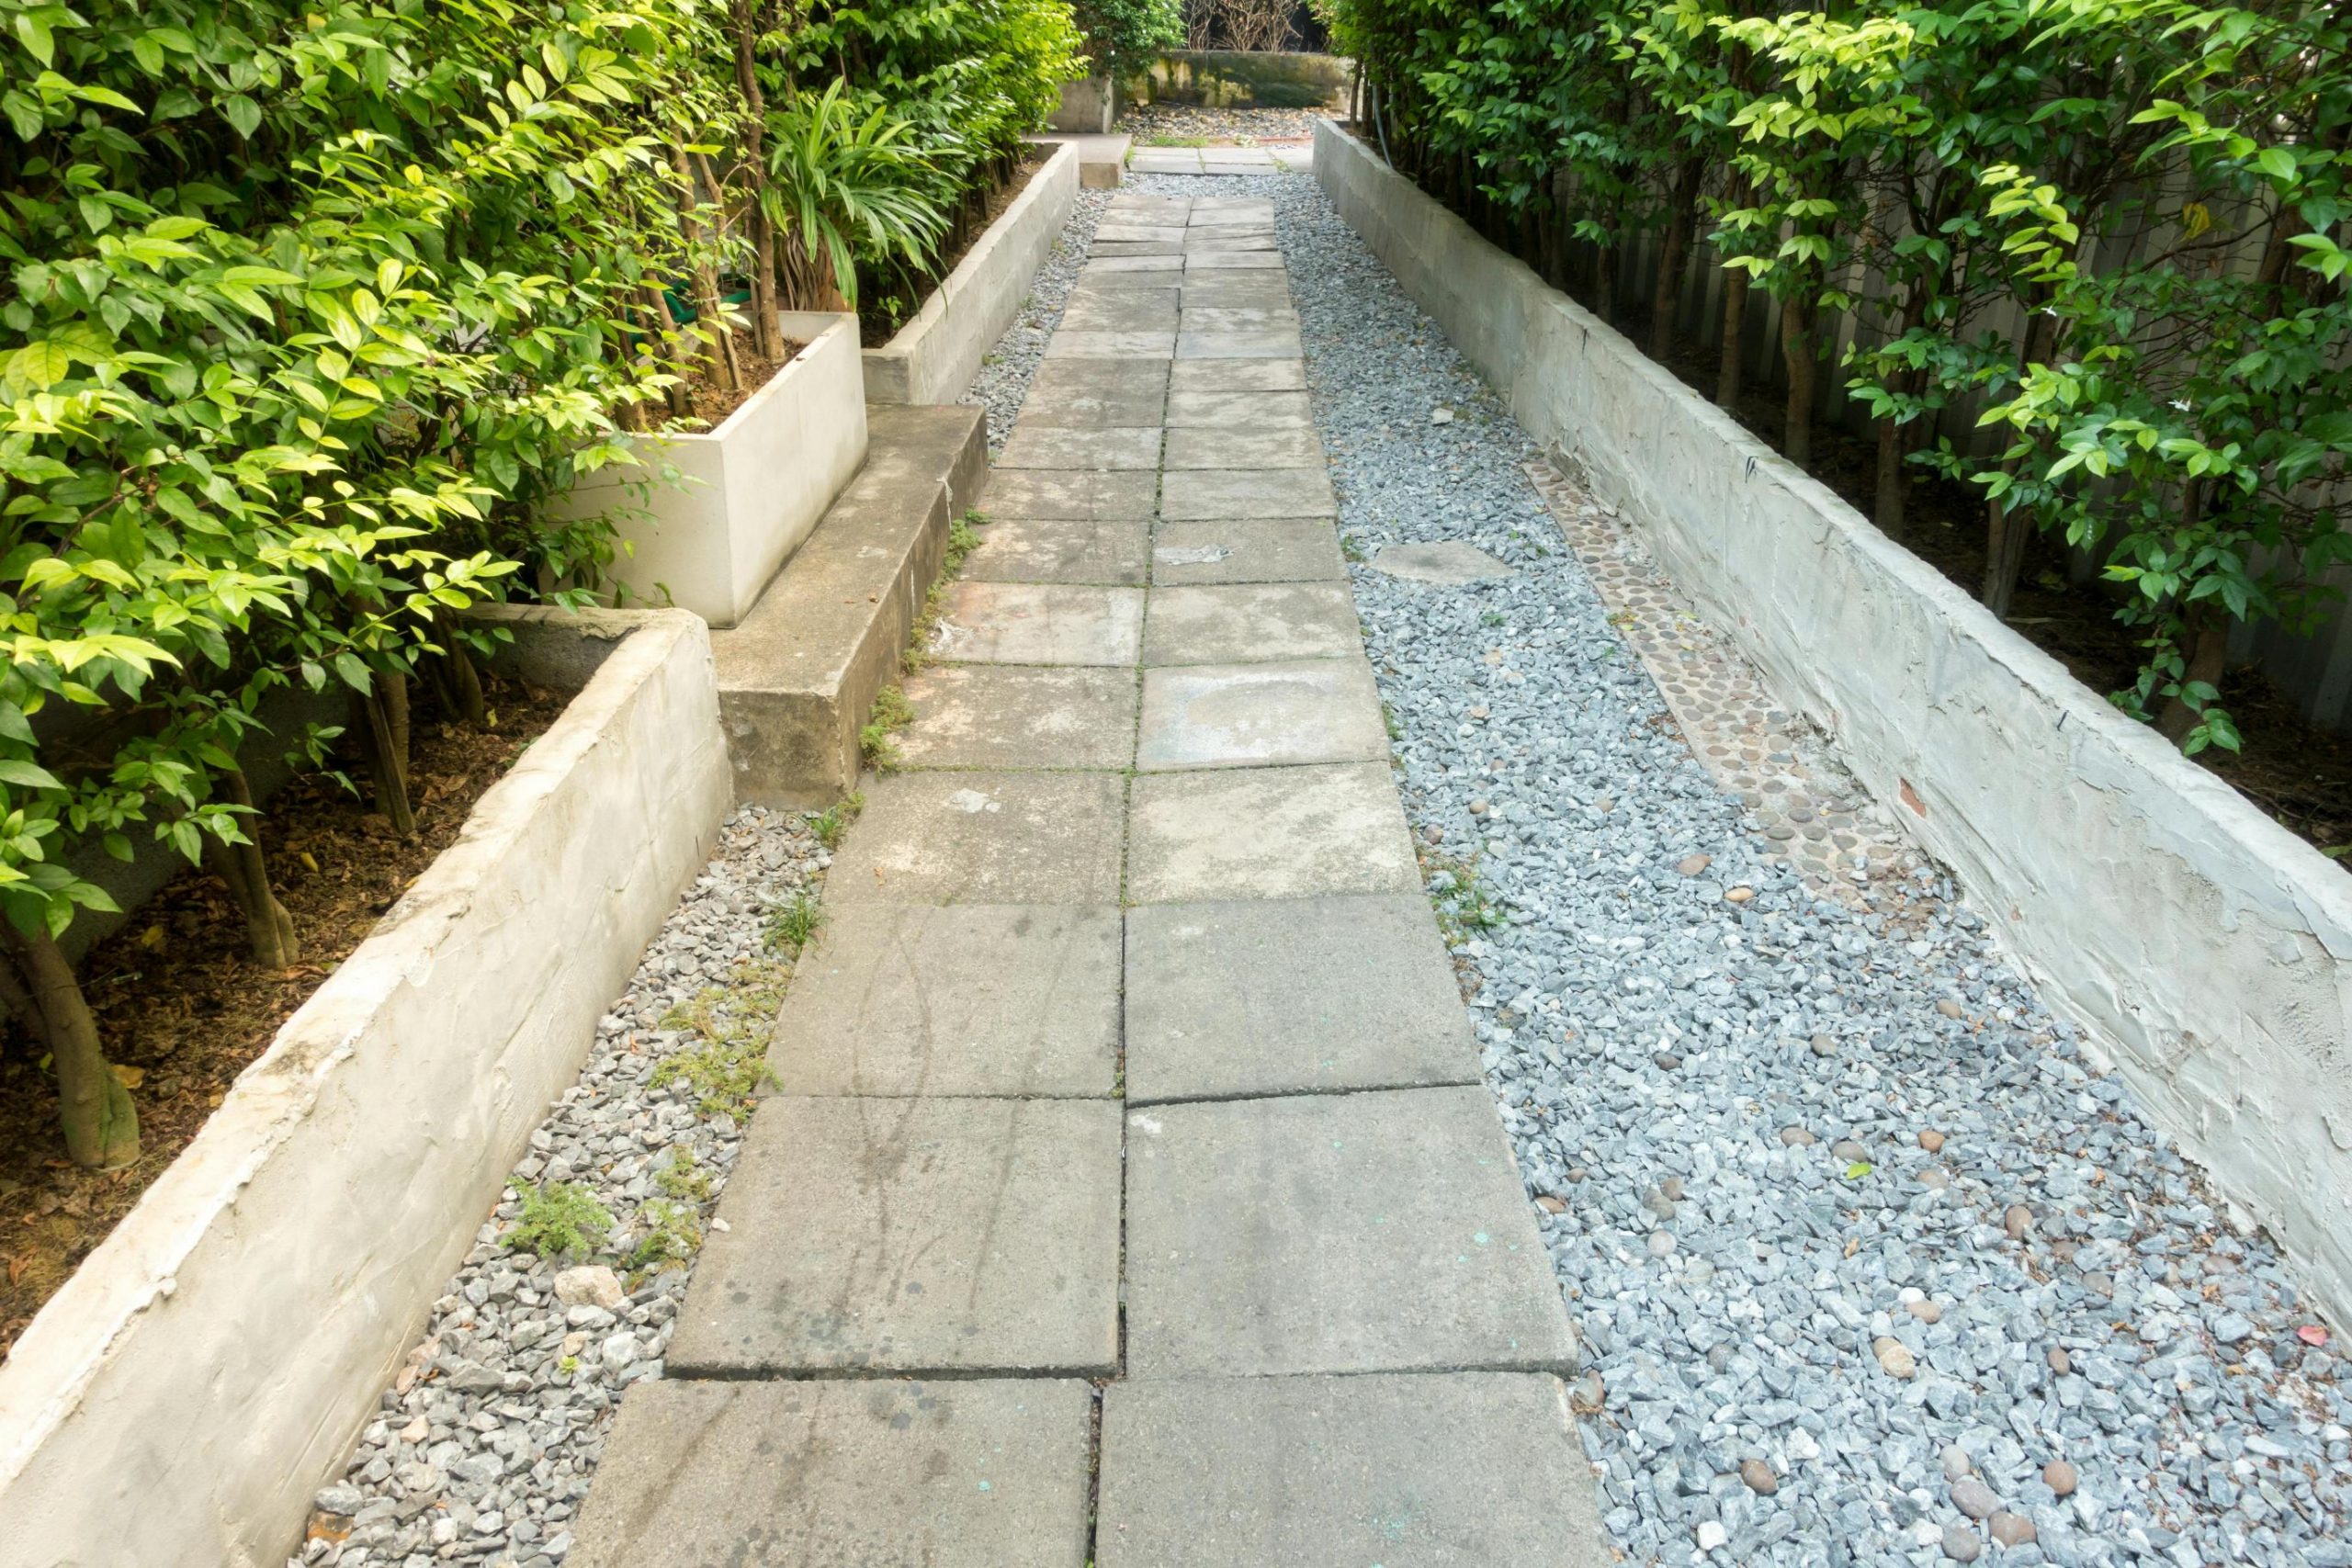
a. Gravel and Pebbles
Gravel is one of the cheapest and most versatile options. It’s easy to install and maintain.
- Benefits: Affordable, available in various colors, easy to shape.
- Tips: Add a weed barrier underneath to prevent grass and weeds from growing through.
- Style ideas: Mix different sizes or colors of gravel for visual interest.
b. Mulch or Wood Chips
Mulch or wood chips create a soft, natural-looking path. This is great for garden walkways or shaded areas.
- Benefits: Low-cost, eco-friendly, blends with landscaping.
- Tips: Refresh mulch every few months to maintain a clean look.
- Style ideas: Pair with stepping stones to create a layered effect.
c. Pavers and Concrete Blocks
Pavers give a polished look without the cost of poured concrete. Many home improvement stores sell inexpensive options.
- Benefits: Durable, versatile, DIY-friendly.
- Tips: Lay pavers on sand or gravel to avoid expensive concrete work.
- Style ideas: Create patterns like herringbone or staggered rows for visual appeal.
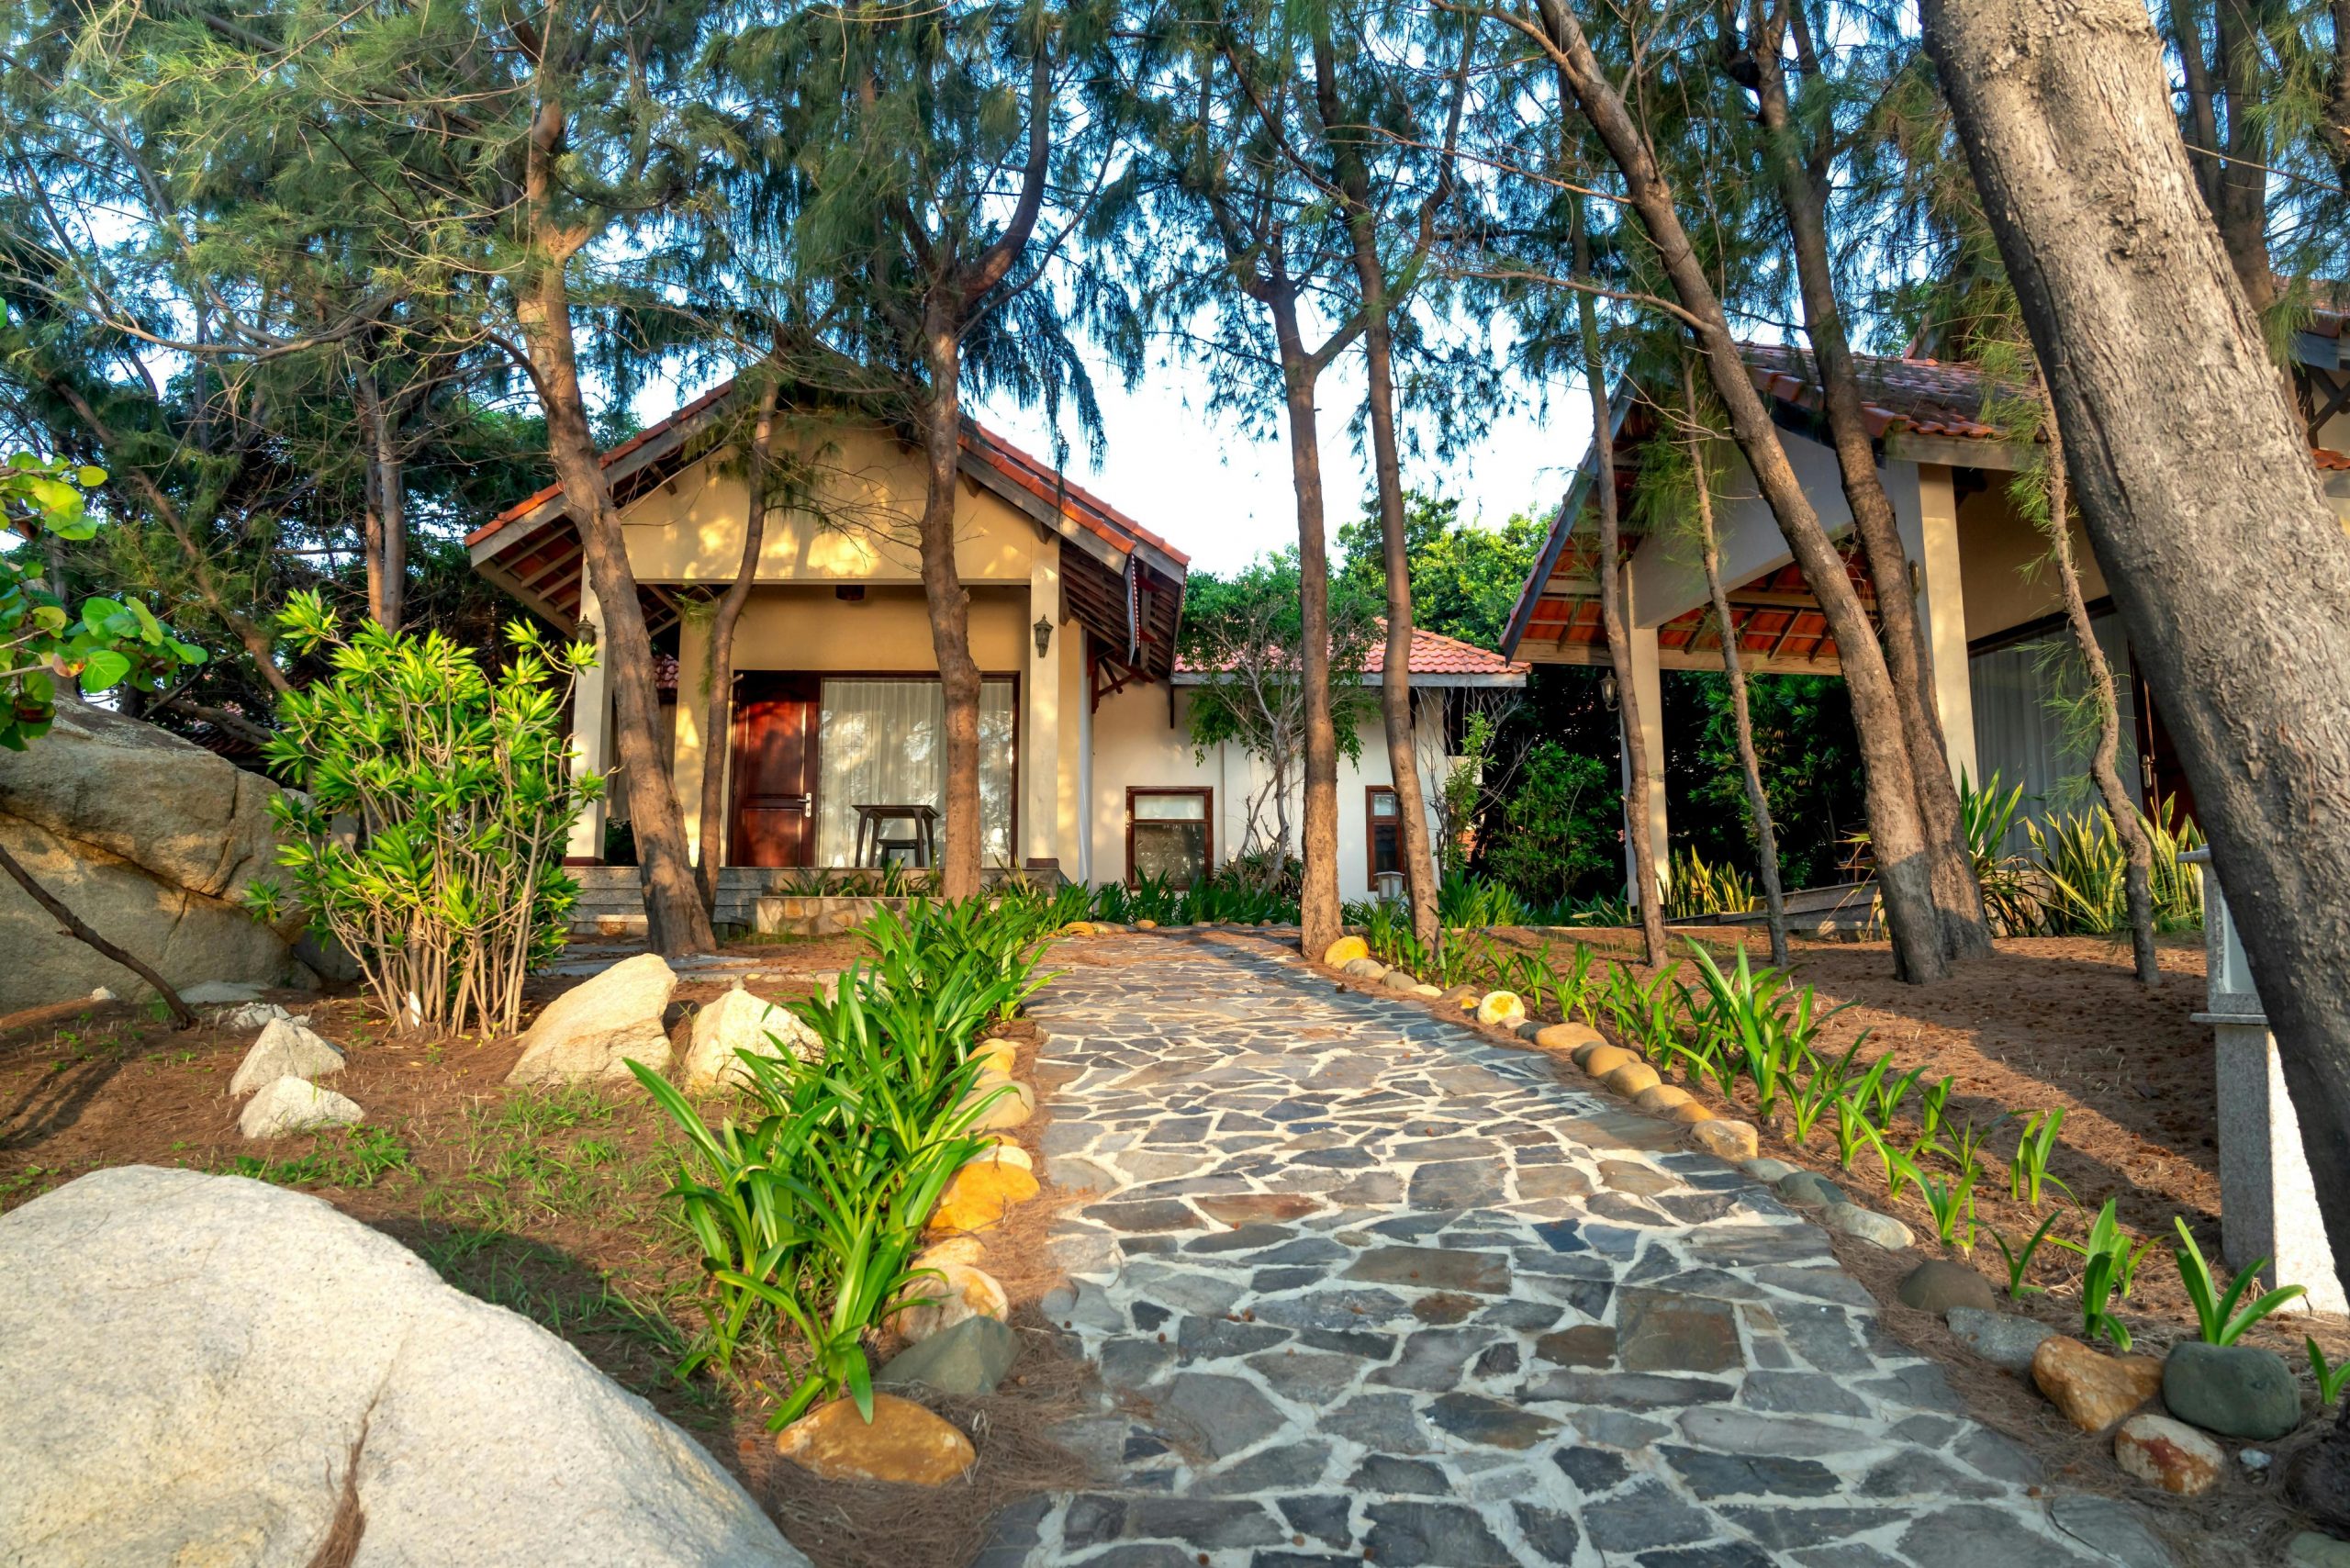
d. Stepping Stones
Stepping stones are a great low-cost, low-maintenance solution. You can even repurpose broken concrete slabs or stones you already own.
- Benefits: Affordable, creative, easy to install.
- Tips: Space stones evenly to ensure comfortable walking.
- Style ideas: Mix sizes and shapes for a whimsical garden path.
e. Reclaimed or Salvaged Materials
Look for old bricks, broken tiles, or leftover stone from other projects.
- Benefits: Free or very cheap, eco-friendly, adds character.
- Tips: Check local classifieds, recycling centers, or construction leftovers.
- Style ideas: Create a mosaic-style walkway for a unique, artistic touch.
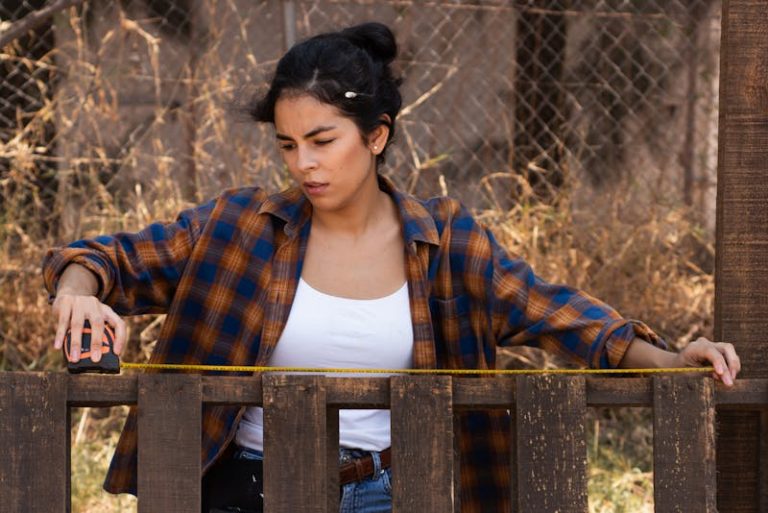
3. DIY Installation to Save Money
Hiring professionals for walkway installation can get expensive, sometimes costing hundreds or even thousands of dollars. The good news is that many walkway projects are simple enough for a DIY approach, especially when using budget-friendly materials like gravel, mulch, stepping stones, or pavers. With a little planning, patience, and elbow grease, you can save a significant amount of money while creating a path that looks professional and stylish.
1. Prepare the Ground
The first step in any walkway project is preparing the ground properly. Start by clearing the area of grass, weeds, rocks, and other debris. This ensures a clean surface for your walkway and prevents future problems like uneven stones or shifting gravel. Once cleared, use a shovel or rake to level the soil. A slightly sloped surface—about 1/8 inch per foot—can help with drainage, preventing water from pooling on your path. Taking time at this stage will save you headaches later.
2. Use a Base Layer
Adding a base layer is essential for stability, especially if you’re using pavers, stepping stones, or bricks. Spread a layer of sand, crushed stone, or gravel about 2–3 inches thick over the leveled soil. This base allows the walkway materials to sit evenly and reduces shifting over time. Use a rake or board to smooth the surface, and consider compacting it lightly with a tamper. This extra step might seem small, but it makes a big difference in durability and longevity.
3. Lay Your Material
Now comes the fun part: laying your walkway materials. Start at one end and work your way across the path. For stepping stones, space them evenly, making sure each stone is stable before moving on. For pavers or bricks, line them up in your chosen pattern, whether it’s a simple straight row, staggered layout, or a herringbone design. Use a level to check that each piece is even with the others, adjusting as necessary. Consistent spacing and alignment make your path look polished and professional.
4. Compact the Path
Once your walkway materials are in place, it’s important to settle them securely. For pavers or stepping stones, use a hand tamper or gently stomp each piece into the base layer. For gravel or crushed stone paths, spreading and lightly compacting the surface helps prevent shifting and creates a smooth, walkable surface. Compacting ensures your walkway is stable, safe to walk on, and ready to handle foot traffic without sinking or moving over time.
5. Add Finishing Touches
The finishing touches make your DIY walkway feel complete and visually appealing. Fill gaps between pavers or stepping stones with sand, gravel, or ground-cover plants like creeping thyme or moss. This not only secures the stones further but also adds charm and natural beauty to your path. Consider edging the walkway with bricks, stones, or low plants to keep materials contained and create a defined border. Adding a few decorative accents, such as solar lights or small garden ornaments, can elevate the overall look without a large investment.
DIY installation gives you full control over costs, material choices, and design. It also allows you to personalize your walkway with creative touches that reflect your style. While it requires time and effort, building your own walkway can be a satisfying project that saves money and adds lasting value to your home.
4. Add Greenery Along the Path
Plants enhance the look of any walkway without a big price tag. They soften edges, add color, and create a welcoming feel.
- Low-cost options: Groundcovers like creeping thyme, moss, or clover are inexpensive and easy to grow.
- Borders: Plant shrubs or perennials along the sides for definition.
- Edible options: Herbs like rosemary, lavender, or oregano make beautiful, fragrant borders.
- Maintenance: Choose hardy plants that require minimal watering to reduce upkeep costs.
Greenery complements your walkway while keeping expenses low.
5. Incorporate Lighting on a Budget
Lighting extends usability and adds charm, even on a tight budget. Solar-powered lights are a simple and inexpensive option.
- Path lights: Place small solar stakes along the walkway.
- String lights: Wrap nearby bushes or trees for a warm glow.
- DIY lanterns: Use mason jars with solar candles or fairy lights inside.
- Maintenance-free: Solar lights require no wiring and little upkeep.
Lighting not only improves safety but also enhances the visual appeal of your walkway at night.
6. Creative and Unique Walkway Ideas
Even on a budget, you can design a walkway that feels unique and stylish.
- Patterned gravel paths: Use edging to create shapes or designs.
- Mosaic stepping stones: Paint or embed tiles in concrete slabs for a personal touch.
- Mixed materials: Combine gravel, mulch, and stepping stones for texture and interest.
- Natural stone placement: Scatter stones irregularly for a rustic, natural effect.
The key is creativity—mixing inexpensive materials can look much more expensive than it actually is.
7. Maintain Your Walkway to Extend Life
Budget walkways are only cost-effective if maintained properly. Regular upkeep prevents repairs and keeps the path attractive.
- Weed control: Remove weeds promptly, especially between pavers or stones.
- Leveling: Check for uneven spots and adjust stones or gravel as needed.
- Cleaning: Sweep or hose down surfaces to remove dirt and debris.
- Refresh materials: Top off gravel or mulch annually to maintain appearance.
Maintenance is a small investment that keeps your walkway functional and beautiful for years.
8. Consider Seasonal Changes
Think about how your walkway will hold up in different weather conditions.
- Drainage: Ensure your path doesn’t flood or erode during heavy rain.
- Traction: Gravel and textured surfaces prevent slipping in icy conditions.
- Durable plants: Choose perennials or hardy groundcovers for year-round appeal.
- Snow removal: Paths with larger stones or pavers are easier to shovel in winter.
Planning for seasons reduces future repairs and maintains safety.
9. Use Edging to Define Walkways
Edging adds a polished look without a high cost. It also keeps materials contained and prevents grass from spreading into the path.
- Simple options: Bricks, stones, or recycled materials.
- Plastic or metal edging: Affordable and easy to install.
- Natural borders: Plants, logs, or low shrubs create a soft, charming edge.
- Maintenance: Edging reduces cleanup and keeps your path looking neat.
Even small touches like edging can elevate a budget walkway.
10. Small Details Make a Big Difference
Sometimes it’s the finishing touches that make a walkway feel high-end.
- Decorative stones or pebbles: Scatter them between stepping stones for contrast.
- Outdoor art or statues: Small features add personality without major costs.
- Painted designs: Simple patterns or motifs on stepping stones create visual interest.
- Seasonal décor: Change flowers or accents with the seasons for freshness.
These small elements add charm and personality, proving that style doesn’t have to be expensive.
Conclusion
Creating a beautiful walkway doesn’t mean spending a fortune. With careful planning, affordable materials, DIY effort, and creative touches, you can design a path that enhances your home and outdoor space. From gravel and stepping stones to mulch, reclaimed materials, and clever lighting, budget-friendly options are plentiful. By maintaining your walkway and adding greenery, edging, and small decorative touches, your walkway will look polished, inviting, and stylish without breaking the bank.
A walkway on a budget is all about smart choices, creativity, and attention to detail. With the tips and ideas in this guide, your outdoor space can feel welcoming, functional, and beautiful for years to come.