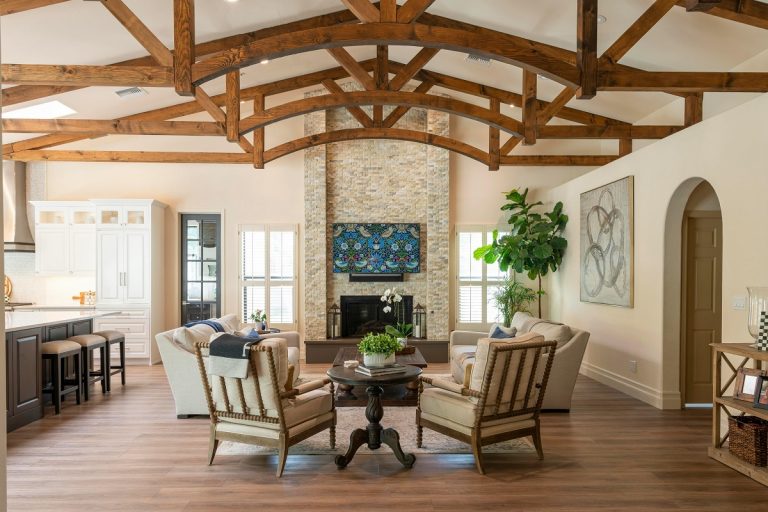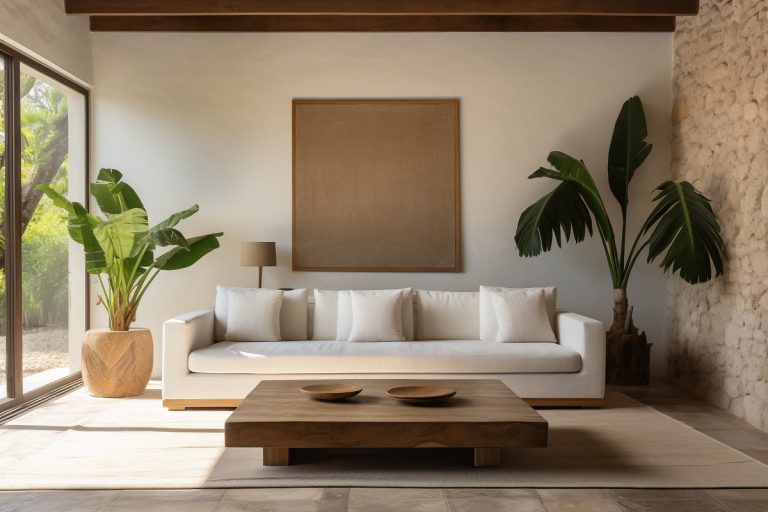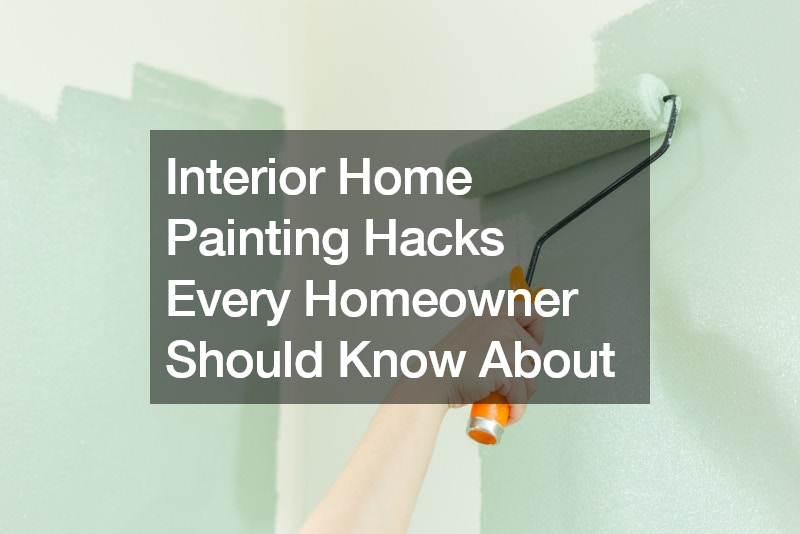
Painting the interior of your home is one of the most effective and affordable ways to refresh your living space. However, it can be a daunting task if you’re not equipped with the right knowledge and tools. To help you achieve professional-looking results without the professional price tag, here are some essential interior home painting hacks every homeowner should know about.
1. Preparing Your Space
Preparation is key to a successful interior home painting project.
Start by clearing the room of all furniture, or move it to the center and cover it with drop cloths or plastic sheeting. Remove all wall decorations, switch plates, and outlet covers. Cleaning the walls to remove dust and grease ensures that the paint adheres properly. Use a mild detergent solution and a sponge to wipe down the walls, then rinse with clean water and let them dry completely.
2. Choosing the Right Paint
Selecting the right paint for your interior home painting project is crucial. For high-traffic areas like kitchens and bathrooms, opt for a durable, washable paint with a satin or semi-gloss finish. In living rooms and bedrooms, a matte or eggshell finish offers a smooth, elegant look. Don’t forget to test paint colors in small patches on different walls to see how they look in various lighting conditions throughout the day.
3. Using Quality Tools
Investing in high-quality brushes, rollers, and painter’s tape can make a significant difference in the outcome of your painting project. A good-quality brush will hold more paint and apply it more smoothly, while a high-density foam roller will provide even coverage without leaving streaks or bubbles. Painter’s tape helps achieve clean, sharp edges, especially around trim and corners.
4. Mastering Cutting-In
Cutting-in is the process of painting along the edges of walls, ceilings, and trim before using a roller to fill in the larger areas. This technique ensures clean lines and a professional finish. Use an angled brush for cutting-in and practice a steady hand. Start about half an inch away from the edge and slowly work your way closer to avoid smudging or uneven lines.
5. The Wet Edge Technique
To avoid lap marks, always maintain a wet edge while painting. This means that you should blend each section of wet paint with the previously painted area before it dries. Work in small sections, starting at the top and working your way down. This technique helps ensure a seamless and uniform finish.
6. Proper Rolling Technique
For the best results with a roller, start by loading it evenly with paint and then rolling it onto the wall in a “W” or “M” pattern. This allows the paint to be evenly distributed and prevents roller marks. After applying the paint in the pattern, go back over the area with light, even strokes to smooth out any lines or bubbles.
7. Taping Off Trim and Fixtures
Using painter’s tape to mask off trim, fixtures, and other areas you don’t want to paint is essential for clean edges and a neat finish. Apply the tape carefully, pressing down firmly along the edges to prevent paint from seeping underneath. Remove the tape while the paint is still slightly wet to avoid peeling off dried paint.
8. Dealing with Drips and Splatters
Even with the best precautions, drips and splatters can happen. Keep a damp cloth or sponge handy to wipe away any accidents immediately. If the paint has already dried, gently scrape it off with a plastic scraper and touch up the area with a small brush.
9. Using Primer
Primer is essential for a smooth and durable finish, especially on new drywall or surfaces that have been repaired. It helps seal the surface and provides a uniform base for the paint. Use a tinted primer that matches your topcoat color to enhance the final look and reduce the number of paint coats needed.
10. Letting Paint Cure Properly
After you’ve finished painting, allow ample time for the paint to cure properly. While the paint may feel dry to the touch within a few hours, it can take up to 30 days to fully cure. Avoid heavy cleaning or placing items against freshly painted walls during this period to prevent damage.
Conclusion
Interior home painting doesn’t have to be a daunting task. With the right preparation, tools, and techniques, you can achieve professional-looking results that will transform your living space. By following these interior home painting hacks, you’ll not only save time and effort but also ensure a beautiful and long-lasting finish. So, grab your brushes and rollers, and get ready to give your home the fresh, new look it deserves.
.